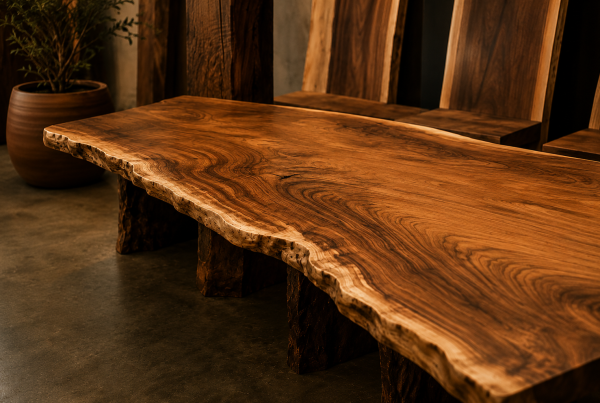
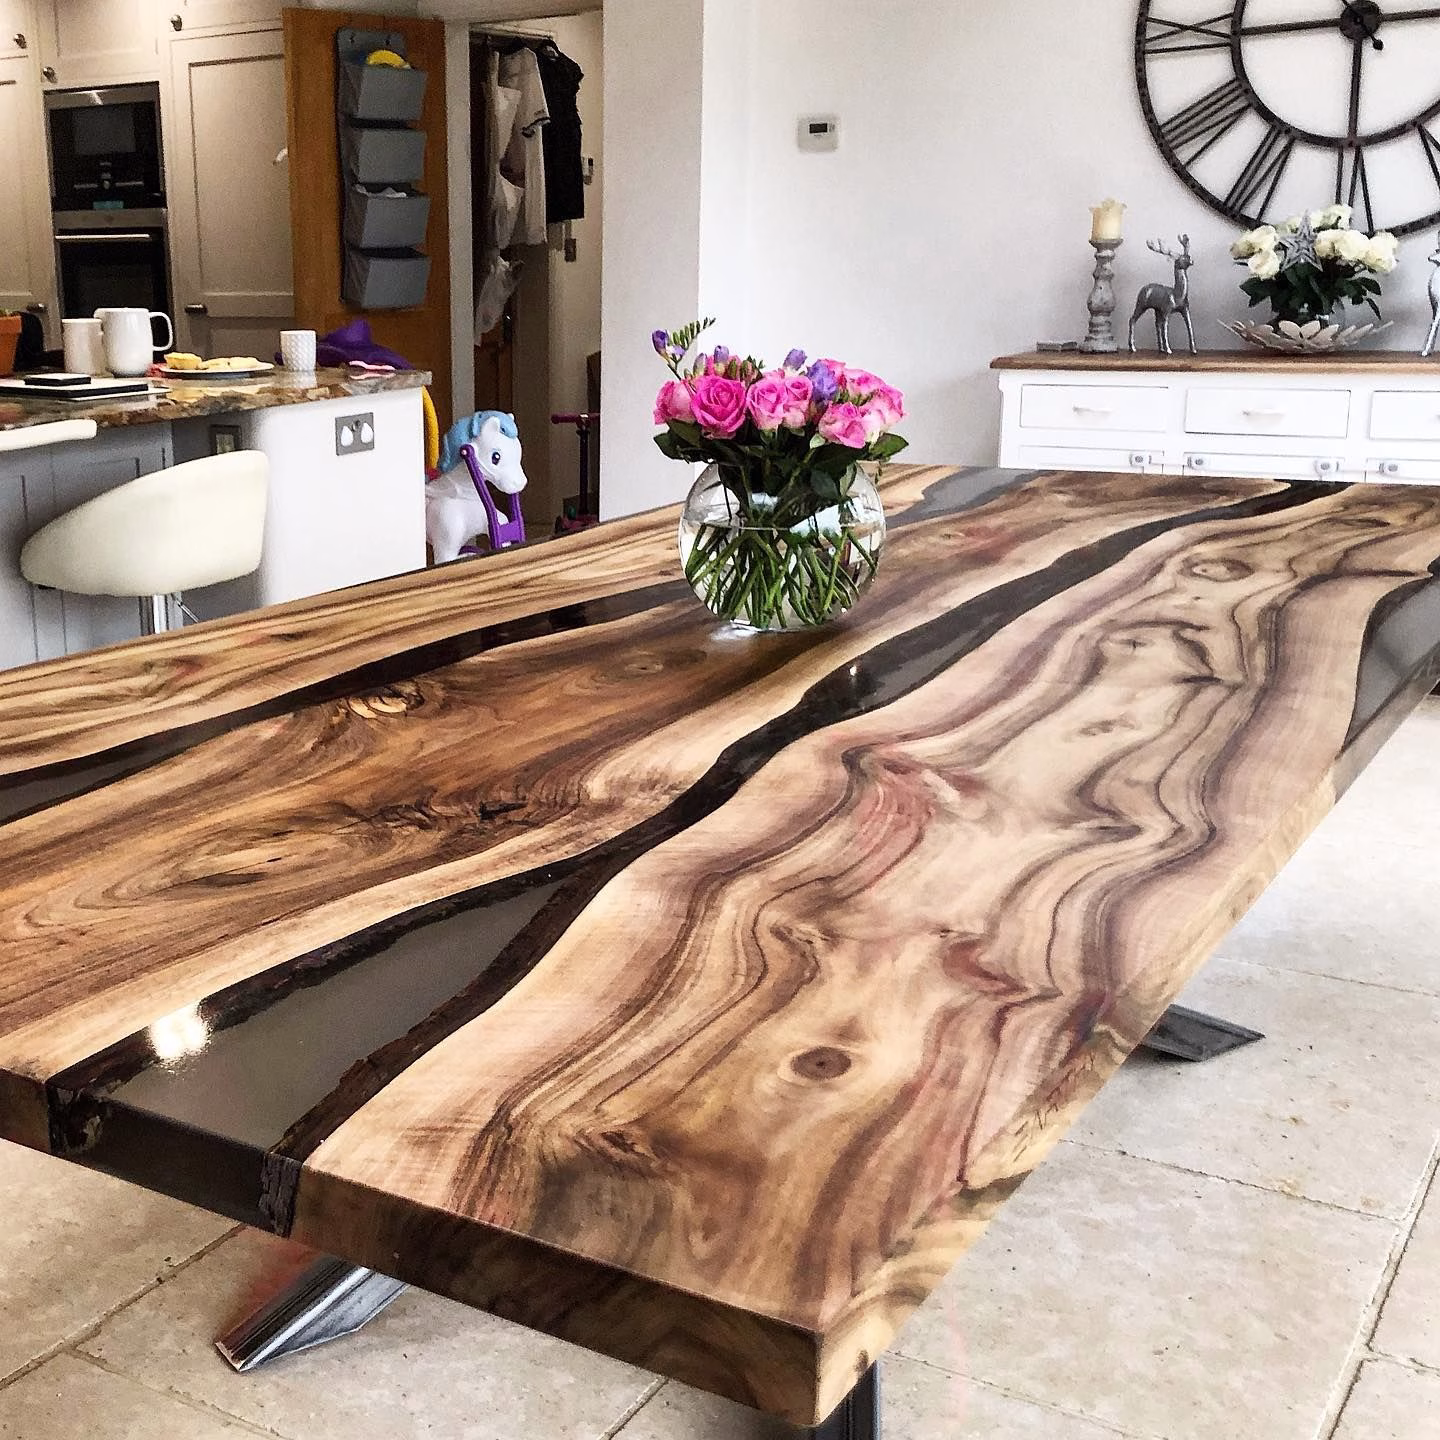
Crafting custom live edge tables and EcoPoxy river tables is an intricate and time-intensive process that transforms reclaimed exotic woods like monkey pod and parota into functional art pieces. Each step, from sourcing to finishing, demands meticulous attention to detail to ensure the final product’s beauty and durability.
Sourcing and Repurposing Fallen Trees
The journey begins with the ethical procurement of wood. By repurposing fallen trees, artisans contribute to environmental sustainability while preserving the unique characteristics of exotic species such as monkey pod and parota. These woods are renowned for their striking grain patterns and rich colors, making them ideal for statement furniture pieces.
Drying Process: Ensuring Stability and Longevity
Proper drying is crucial to prevent future warping, cracking, or mold growth. The process typically involves two stages:Instructables+13Exotic Wood Zone+13premiumwoodslabs.com+13
-
Air Drying: Freshly milled slabs are stacked with spacers (stickers) between them to allow air circulation. This stage can last several months, depending on the wood’s thickness and ambient conditions, and reduces the moisture content gradually.
-
Kiln Drying: After air drying, the slabs undergo kiln drying, where they are placed in a controlled environment with regulated temperature, humidity, and airflow. This accelerates moisture removal and ensures uniform drying. For instance, drying times are approximately one week per inch of thickness, varying based on species and initial moisture content. Rustic Lumber Store+1Exotic Wood Zone+1
Kiln drying stabilizes the wood, preventing defects such as cracking, twisting, and warping. It’s especially vital for dense exotic woods to achieve the desired moisture content for furniture making. premiumwoodslabs.com
Crafting the Table
Once the wood is adequately dried, the crafting process involves several detailed steps:
-
Flattening the Slab: Ensuring a flat surface is foundational. This may involve using a planer or router sled to achieve uniform thickness and remove any warping.
-
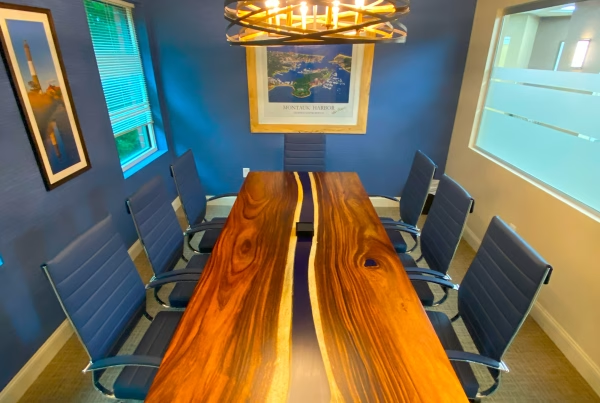
Design Planning: Deciding on the table’s dimensions, shape, and features. For river tables, this includes determining the placement and shape of the epoxy “river.”
-
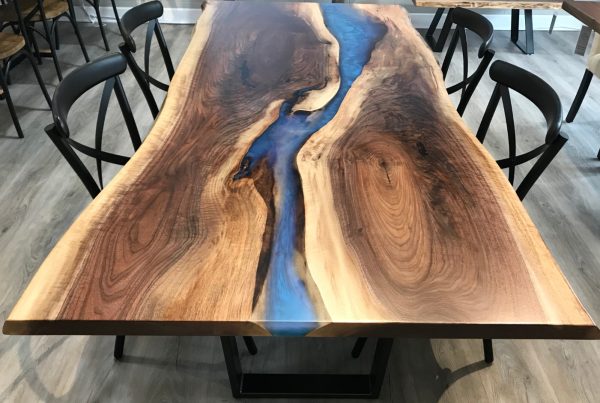
Preparing for Epoxy (if applicable): In river tables, sections of the slab are cut to create space for the epoxy. The wood is sealed to prevent air bubbles, and a mold is constructed to contain the epoxy pour.
-
Epoxy Pouring: EcoPoxy or similar resin is poured into the prepared mold between the wood slabs. This step may require multiple pours, with curing time between each, to achieve the desired depth and effect.
-
Sanding and Finishing: After the epoxy cures, the entire surface is sanded progressively to a fine grit to achieve a smooth finish. This process reveals the wood’s grain patterns and prepares the surface for finishing. Costa Rica Mill
-
Applying Finish: A finish, such as oil or varnish, is applied to enhance the wood’s natural beauty and protect it from moisture and wear.
-
Attaching Legs/Base: Finally, a suitable base or legs are attached, which can be custom metalwork or crafted from wood, complementing the table’s aesthetic.